Bin Sensors in Home Assistant - Scrape
Continuing on from last week’s post, I’ll cover the new (and hopefully improved) version which adds to the Mushroom Chips I use at the start of my main dashboard. This is a slightly more complicated approach, but should also be kept up to date if the schedule changes as it uses the Scrape Integration to pull the information directly from a website.

My local council has a webpage per street in the area which shows which bin(s) are due to be collected in the current week. The main index page for this is here - Bin collections and calendar.
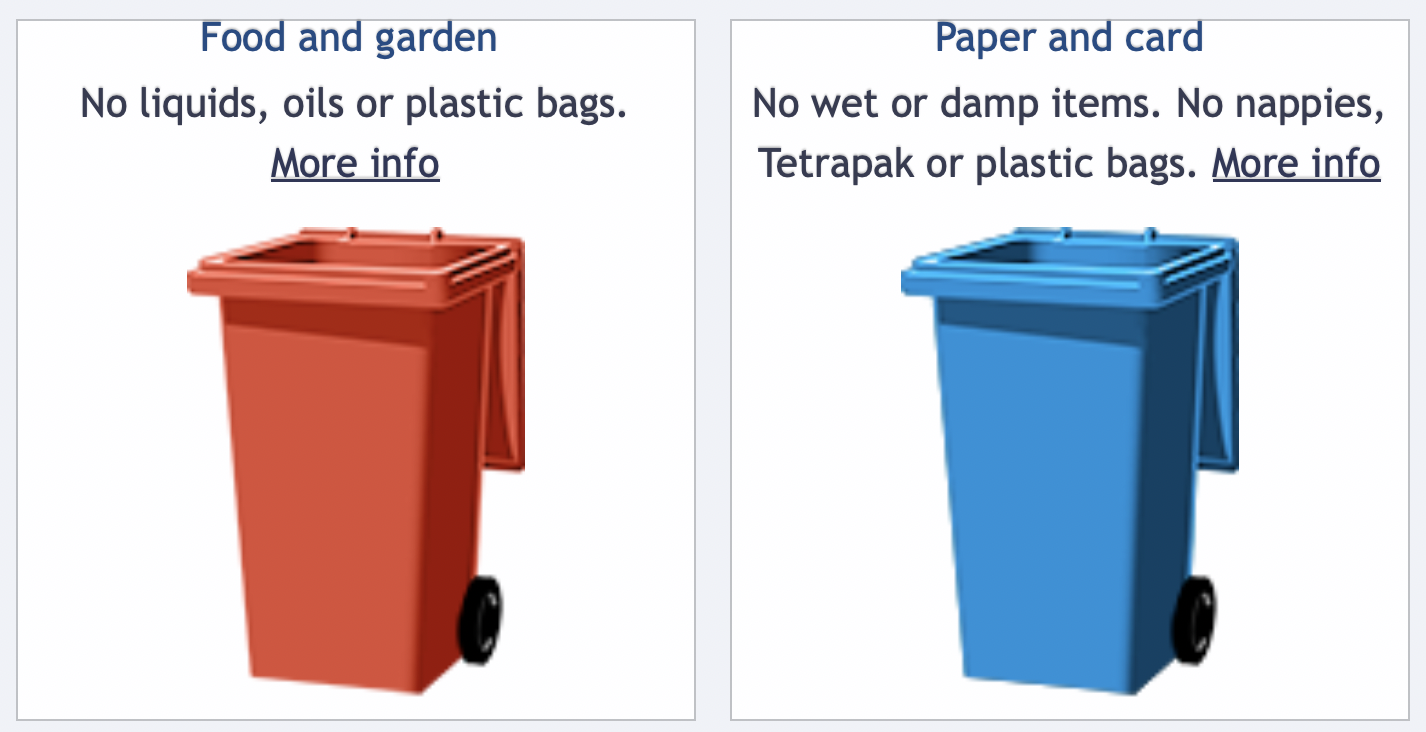
Once you select a region and a street, you are presented with something like this:

This shows either one or two bins depending on the schedule for the current week, as well as their names. From this I’ll be picking up what the type of bin is as well as the colour for using in the chip.
For each bin, this is the HTML that we ultimately want to extract values from is:
<li>
  <h4>Food and garden <br/><p>No liquids, oils or plastic bags. <a href="https://www.southlanarkshire.gov.uk/info/200156/bins_and_recycling/1841/bins_-_what_goes_in_them/3">More info</a></p></h4>
  <img src="https://www.southlanarkshire.gov.uk/images/bin-red.png" alt="red bin">
</li>
Identifying the Selectors
As Home Assistant is using BeautifulSoup for scraping areas of the page based on the CSS selector it should have been possible to use the “Inspect Element” in the Safari developer tools, and use the “Copy Selector Path” right click option to get the selector path to use. This produced the selector path #lower_content > div > div > div > ul > li:nth-child(1) > h4.
However this didn’t work in Home Assistant, so I made a quick python script using the BeautifulSoup library myself and it also didn’t find the content. This is my quick test script:
import requests
from bs4 import BeautifulSoup

response = requests.get("<insert url to street specific page>")

if response.status_code != 200:
  print("Error fetching page")
  exit()

else:
  soup = BeautifulSoup(response.content, 'html.parser')
  all_results = soup.select('#lower_content > div > div > div > ul > li:nth-child(1) > h4')

  print(all_results)
Running this just returns an empty array.
(venv) ➜  PythonBeautifulSoupTest python3 test.py
[]
I didn’t look too closely into why this mismatched (it could be a bug in either the library or the Safari developer tools), but from looking at the source HTML we could get away with a much less specific selector - simply targeting where there were list elements. Just focusing on the last few elements of the selector, li:nth-child(1) > h4, gets us the result we were looking for:
(venv) ➜  PythonBeautifulSoupTest python3 test.py
[<h4>Food and garden <br/><p>No liquids, oils or plastic bags. <a href="https://www.southlanarkshire.gov.uk/info/200156/bins_and_recycling/1841/bins_-_what_goes_in_them/3">More info</a></p></h4>]
Scrape Sensors
The configuration of a scrape sensor is relatively simple once you know the configuration settings that you are needing.
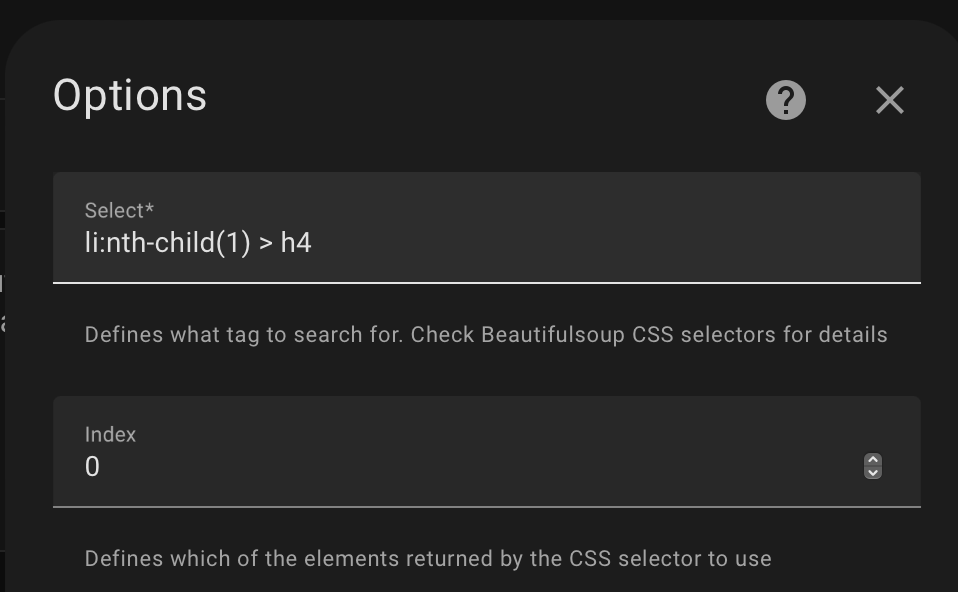
For the names of the bins, the configuration values required are:
| Bin Number | Select |
|---|---|
| 1 | li:nth-child(1) > h4 |
| 2 | li:nth-child(2) > h4 |

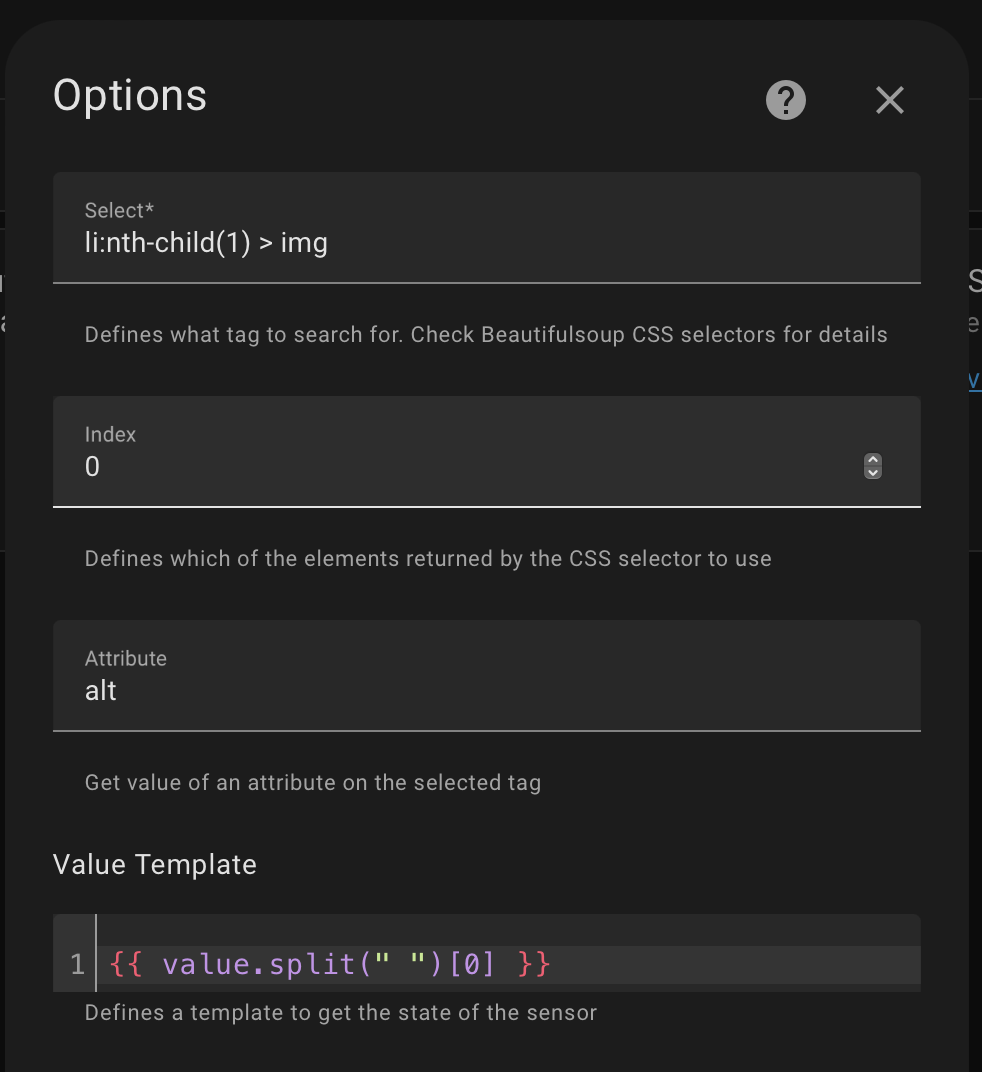
For the bin colours, it is a little bit more complicated as we use a Value Template to extract the colour name out of the alt text attribute of a selected tag.
| Bin Number | Select | Attribute | Value Template |
|---|---|---|---|
| 1 | li:nth-child(1) > img |
alt | {{ value.split(" ")[0] }} |
| 2 | li:nth-child(2) > img |
alt | {{ value.split(" ")[0] }} |

Our end result is sensors reporting values like this:

Dashboard Chip Configuration
As is a pattern with these posts, this is configurable through the UI but is easier to share as YAML.
type: custom:mushroom-chips-card
chips:
  - type: template
    icon: mdi:delete
    icon_color: '{{ states(''sensor.bin_1_colour'') }}'
    content: '{{ states(''sensor.bin_1'') }}'
  - type: conditional
    conditions:
      - entity: sensor.bin_2
        state_not: unknown
    chip:
      type: template
      icon: mdi:delete
      icon_color: '{{ states(''sensor.bin_2_colour'') }}'
      content: '{{ states(''sensor.bin_2'') }}'
alignment: center
This defines a chip card containing two chips. Both of these use a template to define a chip with text for the type of the bin, with the icon colour being set. The second of these chips is wrapped in a conditional chip type so it is only displayed if there is a defined value.

Taking this Further?
At this point I stopped, for the number of days until the next collection I just use the solution from the last post. I had considered taking this even further and trying to use the information on the page to work out the date of the next collection, but that seemed awfully complicated for little extra value. At worst I need to update that script, and the council doesn’t update the day on the page anyway when it changes due to seasonal holidays or other rare events.